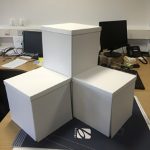
Projection objects

It is crucial to know your projection object well, as you need to develop audiovisual ideas that are suitable for the object’s size, the complexity of its projection area(s) you will use, also its geometry, projection angle, distance etc.

The size of the object and the projection distance will determine the brightness of the required projector(s) and thus the cost involved. The colour of the object is important too. A free-standing, bright-coloured object works, matte white is good to produce crisp images. Translucent surfaces are suitable for projection mapping if you are looking to create a more fragile, ghostlike atmosphere. Reflective surfaces are less useful as they will reflect the lamp light, spoiling the immersive illusion you are trying to create.

Start with a white box

Why? it is a useful object to learn with, particularly on a small scale. If you turn the box so you can project onto several sides, it will give you options:

box projection
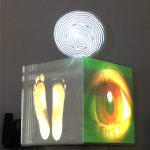
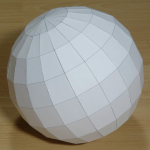
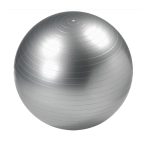
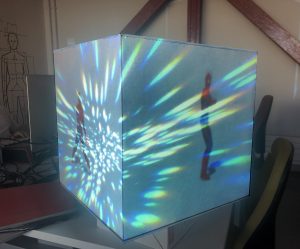
You can ‘wrap’ the same content around the box, or have different content for sides and lid, or project different content on each side. Mapping its corners is also easier then say, mapping a sphere.

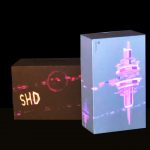
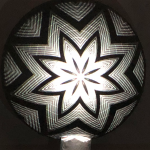
The interesting thing about a box is that it only looks like one if you choose it to be. Your content can be so imaginative that the box shape becomes hardly noticeable. In terms of creativity, anything and everything could happen with this box.

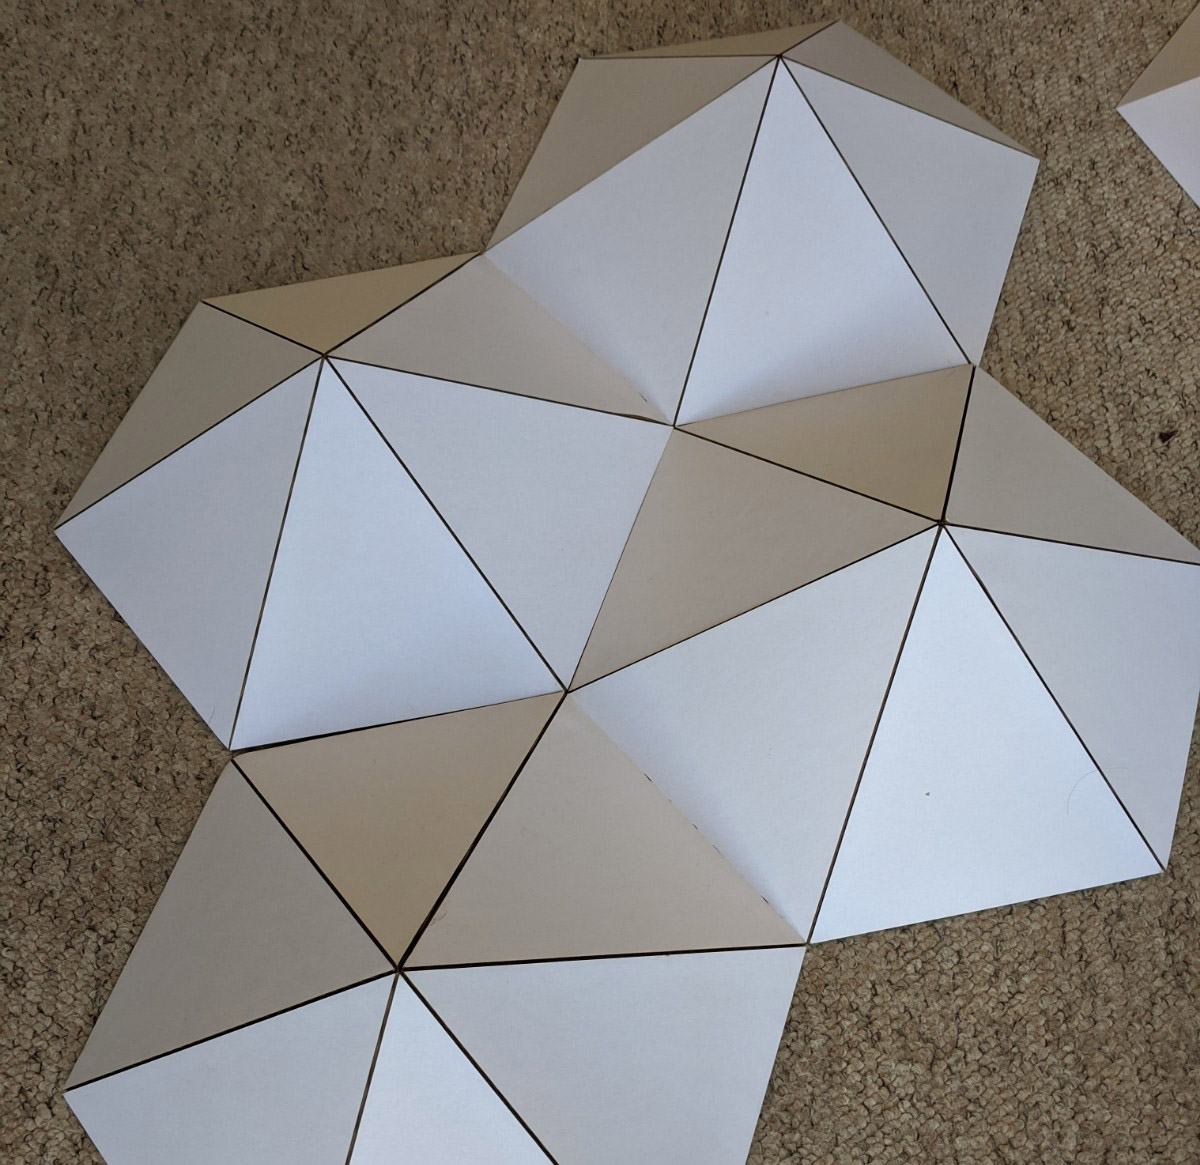
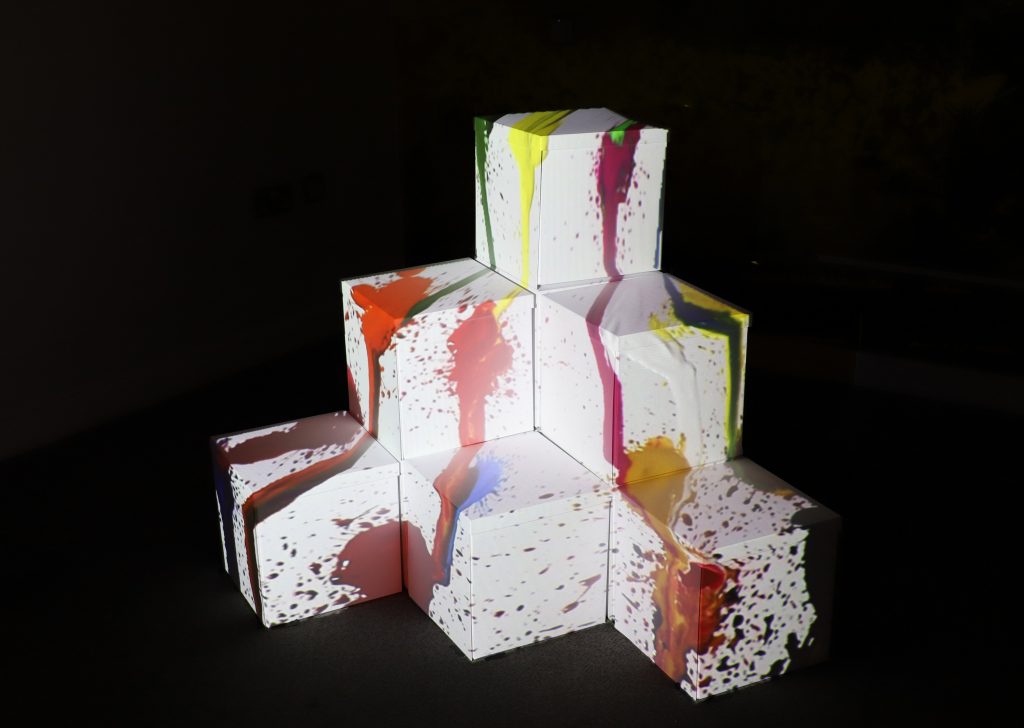
You can also assemble boxes easily to work with more complex shapes:

Other basic shapes

Other interesting shapes are pyramids, platonic solids, cones and spheres. You could buy ready-mades objects, like an Olga kit, or cut and assemble your own. Many of these objects can be folded down, very convenient for transport and storage.

Finding low-cost, large matte white spheres that can easily be disassembled and stored can be a bit of a challenge. Inflatables perhaps, sprayed matte white, however cheap inflatable balls do not make a perfect sphere. Hung from the ceiling they can also be prone to air movement, displacing the image and breaking the illusion. Cardboard spheres often have noticeable edges. 

Complex shapes

You might encounter complex shapes when you think about projecting onto architecture. Glass and steel constructions look great, but may not be the easiest objects to project onto. Larger surfaced objects (like roof of the Sydney Opera House) are better suited for mapping, as they provide greater areas to display content onto, so it becomes easier to tell a story.

Footage of the Vivid Sydney 2019 displays on the Sydney Opera House, Museum of Contemporary Art and Customs House. https://www.vividsydney.com/

Site visit: if you plan to work with a large object or outdoors, make a site visit and take photographs of the object, ideally from the point where your projector will be situated, The photo will remind you of the architectural details later on, useful for the mapping stage. Also take a photo of where the audience will be and what they will might see from there. They may not be in the same space as the projector (s).

Avoid moving objects

Projecting onto purposefully moving objects (e.g. dancers in white outfits) is a whole different ball game, and will not be covered here. 

Control the lighting

It is useful if your light-coloured object is surrounded by darker areas. If projecting outdoors at night, a free-standing building is useful. Also check for street lighting, light spilling from traffic or billboards etc, as this could take away much of the effect you want to achieve.

Back to Top