Sourcing engaging content is one of the most important aspect of projection mapping. If you work on a budget and without access to a high-spec camera, lighting equipment or production studio what can you do?
There are still many options but it depends on the type of content you plan to use. It could be motion graphics, recorded video, live streamed 3D or even just a static image with an animation effect. You could create your own content or combine existing materials.
For example, you may plan to shoot some footage using a smartphone, and then process and render this material. Holding the phone steady (tripod?) and keeping light levels within a useful range should help to make this work.
If there is no smartphone, or you prefer other sources for content you could re-mix existing clips. Some suggestions for free (open source) content:
Movement effects (supplied with some projection mapping software)
Generators (supplied with some projection mapping software)
2 interesting (and free) video examples from Pexels.
Think resolution and FPS
While collecting footage, already think about the projector resolution. Using high resolution material increases CPU load and rendering time, and it would make for a faster workflow to shoot only at the projector’s resolution. However, you may not be able to re-use materials with a higher spec projector later on.
Another point to think about is frame rate per second (fps). To help a lower-spec computer with rendering, your materials could be produced at 25 – 30 frames per second (professionals generally shoot for 60+ frames per second).
Example from Pexels showing resolution, fps and license type
When working on a small budget, it is helpful to establish at some point which is your weaker link, the computer or the projector. Projection mapping can yield disappointing results if the computer is struggling to render video smoothly, or if the projector’s resolution is too low and content appears blurred.
Some tips for faster playback:
Minimise the amount of live image processing/ layering.
Pre-render some content to avoid frame dropping.
Use materials produced at 25 – 30 fps.
In a live mixing scenario you rely on the computer CPU to handle audio and video in real time. Lags and skipped frames do not look professional.
Further tips
While shooting footage, plan ahead for compositing: if you want to overlay video sources later on, it helps to shoot some materials with a single colour background (think green screen).
Alpha channel: your material should include an alpha channel. This is useful if you want to create a mask on one layer of your video editing software to blend in a second layer.
Other software you might need: you may need software for video editing and rendering, (Adobe After Effects & Premiere or similar), software for animation and a codec converter. Make sure to export at the right settings (resolution, fps).
Should the content have audio embedded or not? If you wish to mix video to audio in real time, then it is better to have the audio separate. This also allows for audio-reactive features. If your show is set up in advance (as a playback) it could be embedded but may limit your options.
Mix types of content: apart from recorded video, your content could include 2D or 3D animation, still images, or materials generated by creative coding, for example p5.js.
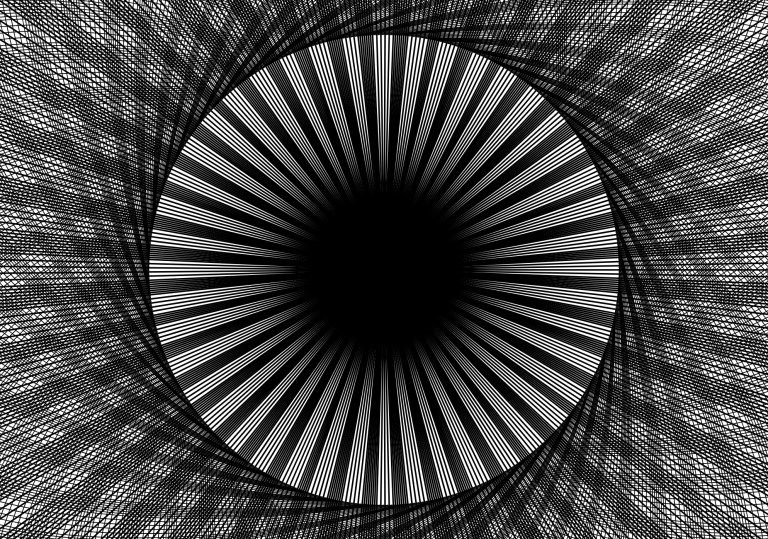
Original image by Gurtaik Jayden Das, created in p5.js
Using Jayden’s image with Resolume Arena’s polar coordinates and kaleidoscopic generator